This is going to be a short post that was requested during the LifeHacker "How I Work" feature. In the post (here) I had mentioned my custom laptop stand that has an automotive transmission cooler and there was some interest in its construction. Since moving I haven't hooked everything (fluid and such) up, so I did make any thermal profiles of the stand, but maybe at some point I'll attach some thermocouples and so just that. Regardless, here are a few photos and some construction notes.
First off I should state the purpose and design requirements of the stand. I wanted a stand to that the laptop monitor would line up nicely with my second monitor and wasn't made of books. At the time I was running lots of rather intensive thermal models and gridding some large data sets, so that my laptop would be running very hot with the fans full blast for anywhere from 5-20 hours straight. To keep it running a bit cooler I decided to build the stand of something thermally conductive, Aluminium was a good choice since that's what the laptop case is made of and it looks nice. It's also not bad at conducting heat!
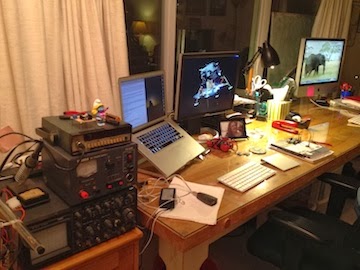 |
| The stand was designed to hold the laptop screen at the same level as my second monitor and give a nice angle of viewing. |
I bought some Al sheet a Lowe's, as well as a small strap of metal, and some "L" shaped material. The channel makes the supports for the sheet and the runners on the desk. I left them long incase I decide to mount the fluid tank and pump back there. So far I haven't found a setup that is quiet and that fits in the space. I will try again soon, but I've played with pumps and small aquarium tanks in the past.
Using a sheet metal shear and brake I cut and bent the top plate to hold my laptop. Be sure that the rubber feet on the bottom of the computer are off the stand, we want metal-metal contact for the best heat transfer!
So there were no screw heads to scratch my laptop, I used adhesive to mount the top plate to the frame. The frame was assembled with nuts and bolts, then set on plastic feet to prevent scratches to the glass desktop.
Next I made the stand match the computer a bit better by giving it a brushed Al finish instead of shiny metal. A wire polishing wheel attached to the drill gave a nice, but time consuming finish to the entire stand.
To further the cooling I wanted to mount a heat-sink to the bottom of the stand. It so happened that I found a great solution at the automotive store that would allow for liquid cooling! A small generic automotive transmission cooler add-on kit (about $25 at the time) provides lots of surface area and a nice look. The cooler is mounted with JB-weld and seems to get nice and warm when I'm working the laptop. I'll probably inject some thermal grease to increase the coupling even more.
 |
| The transmission cooler on the bottom of the stand. |
 |
| The surface where the computer sits. |
This was a really fun little afternoon project and its not done yet! Eventually I'll run onto a tank/pump combo that I like and will fit onto the stand. I'll mount it and use some colored water to give a nice effect when I'm cooling. The easiest control mechanism is a small temperature sensor that turns the pump on and off as necessary to maintain a set-point. When that happens, I'll be sure to post and update.
To William (the commenter that requested some details of my stand): Sorry this took so long! The LifeHacker article went live not long before I took my candidacy exam!
As always feel free to comment/email questions!


