Awhile back I talked about some weird issues with my 3D printer filament being damaged by UV radiation from the sun. I'm back with more stories of 3D printing though and my current attempt at solving the issue.
I was printing some parts and kept having issues with the layers coming apart and/or having a bubbly, uneven surface texture. I generally print with ABS plastic, even though others seem to have more issues with it, I've always had better luck than with PLA. I decided to try some PLA and also had problems with it sticking and with the filament becoming very brittle and shattering. This problem was slowly driving me crazy as I usually can get high quality prints with little fuss.
First off I moved the printer further away from the window to be sure no hot/cold convective air currents were interrupting the printing process. I even hung some cardboard sheets around the side of the print area. If I had the space I'd make a full enclosure for the printer to cut off all air currents from the room, but that will have to wait for awhile. (It would also dampen the noise, which is a bonus in an apartment!) I still was getting "bubbly" prints though.
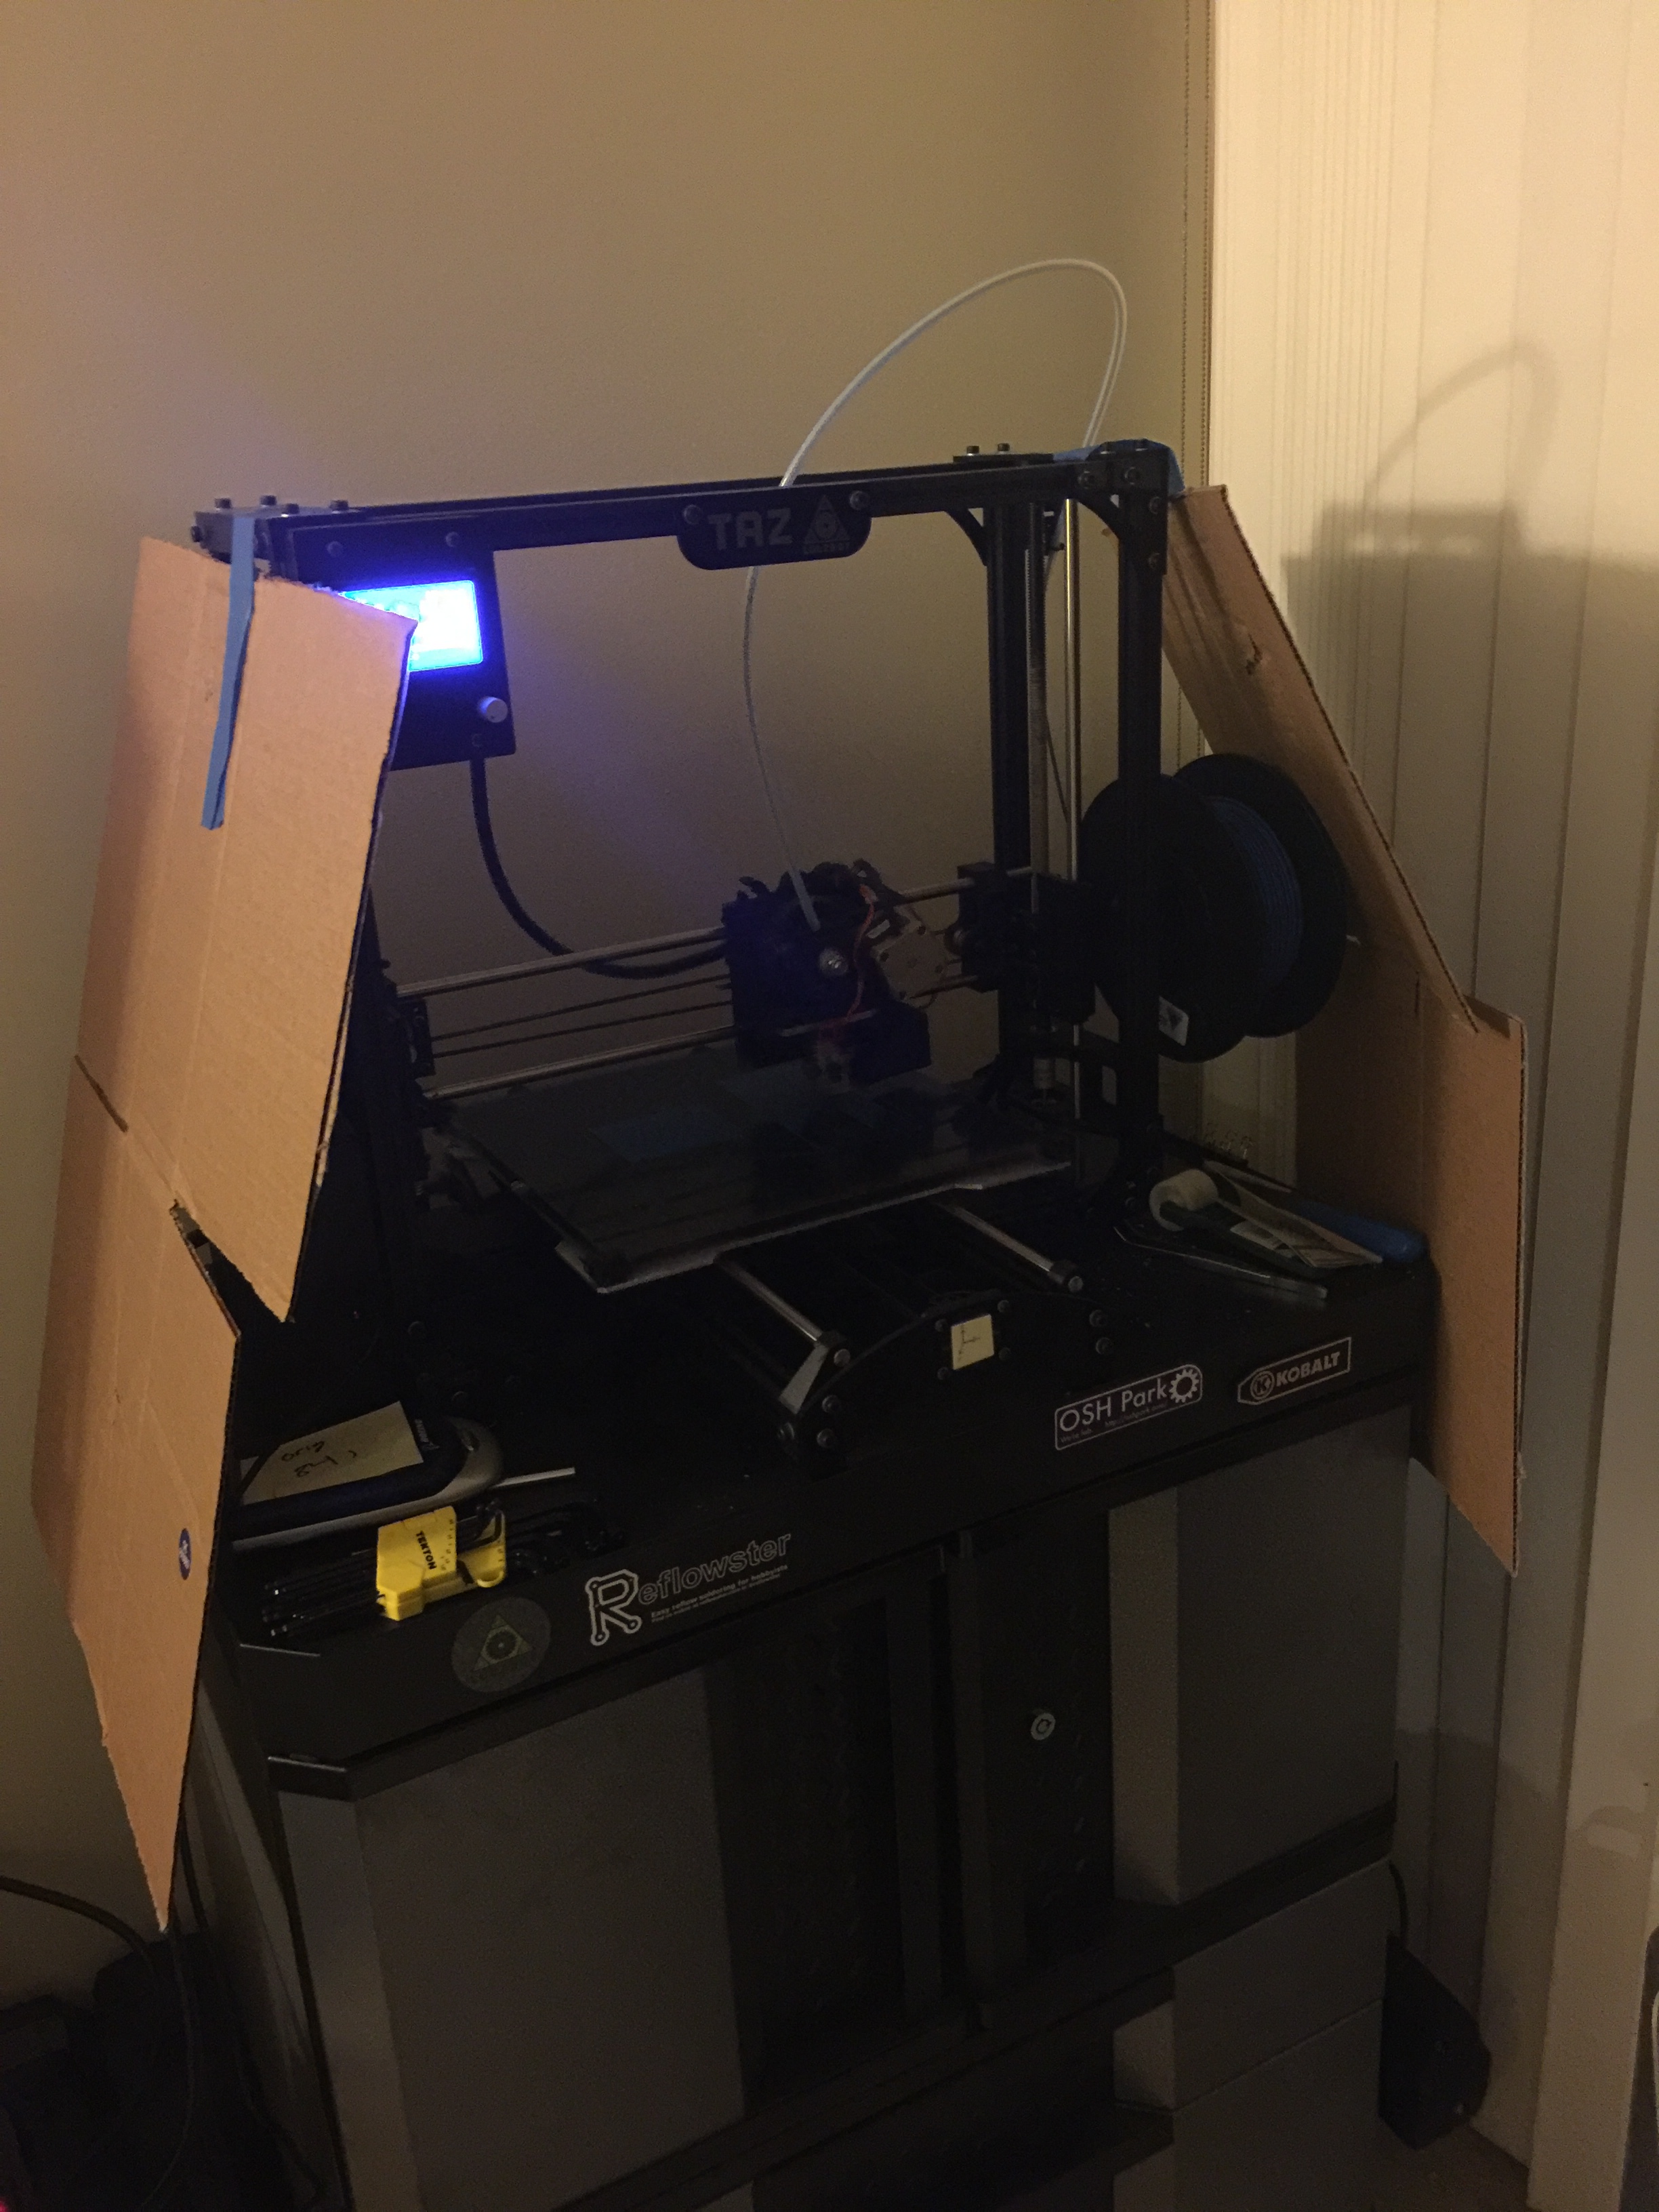
Cardboard baffles taped onto the printer in an effort to reduce air currents near the print surface.
After reading more online I decided that my filament must be too moist. The plastic is adsorbing moisture from the humid air and that turns to steam in the print head, causing little blow-outs and my bubbly texture. After consulting with a colleague that does a lot of printing, he confirmed that this is an issue and even cited his tests showing that filament over a few weeks old produced weaker prints. There are a few ways I can think of to help with the issue: 1) put filament in a bucket with a light bulb as a heater to keep the humidity low, 2) keep the filament in vacuum packs, 3) lock it in a low humidity environment with silica gel beads. Based on cost and convenience, I ended up going with the third option. While this technique won't give filament an infinite life, I was hoping to salvage some of mine.
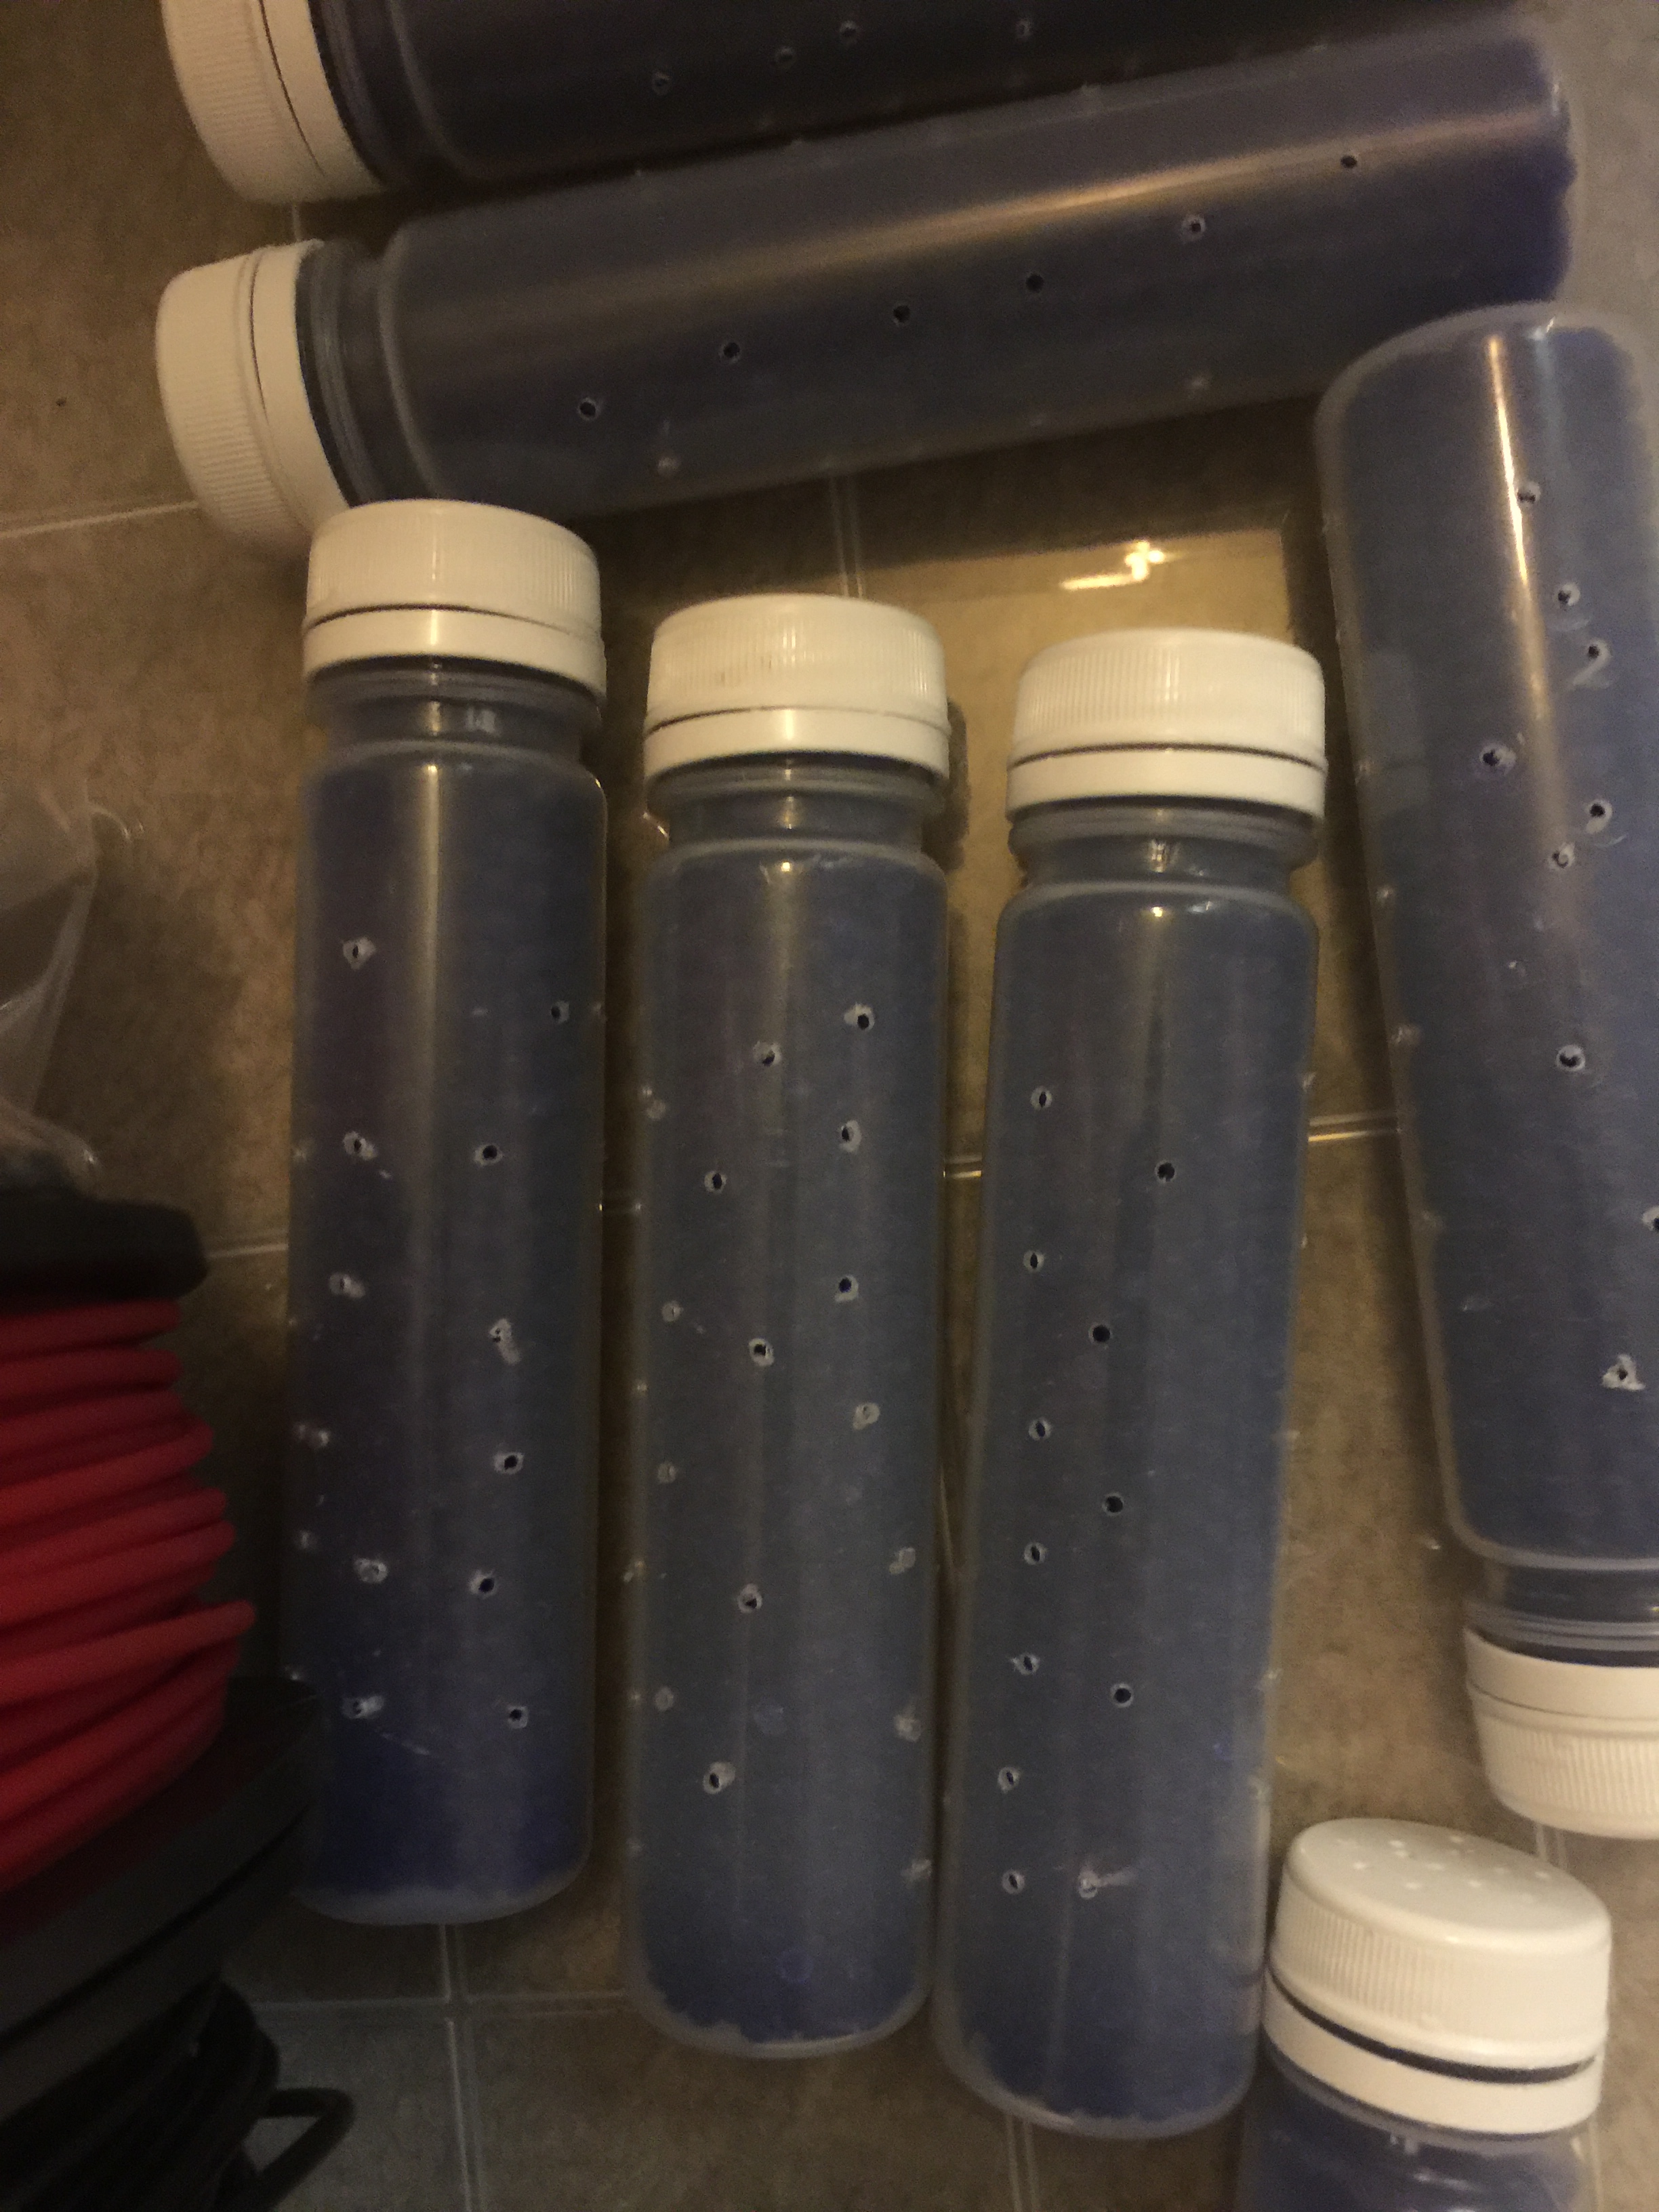
I went to a craft store and bought a plastic tub that had a soft air/water tight seal; specifically the Ziploc Weathertight series container. I also ordered a gallon container of silica beads that are commonly used to keep products dry during shipping. While the products were on their way, I collected a bunch of plastic containers and drilled many small holes in them. When the beads arrived I filled the containers with them and placed them and my filament in the large box.
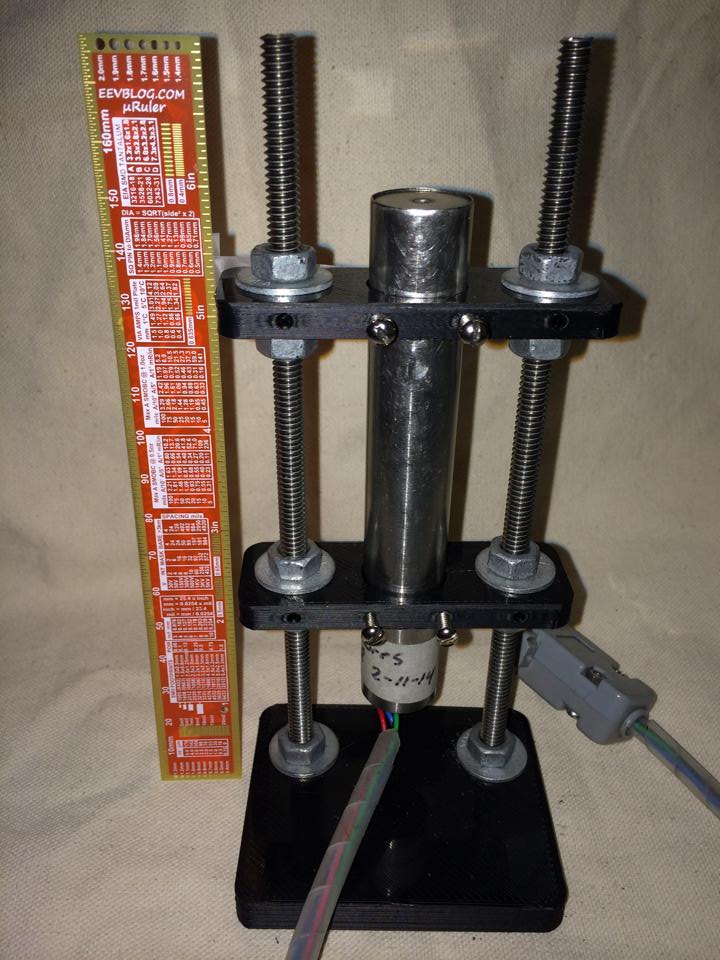
In an effort to see how good of a job the silica beads were doing, I also taped a humidity indicator inside the box. I hadn't used these simple indicators before and had no idea how accurate they were, so I whipped up a quick sensor with a MicroView (Arduino) and checked it. To my surprise, it was dead on, even when exposed to the higher room humidity. If you only need 5-10% accuracy (like when seeing if the silica beads need to be baked because they are saturated) these seem to do the trick.
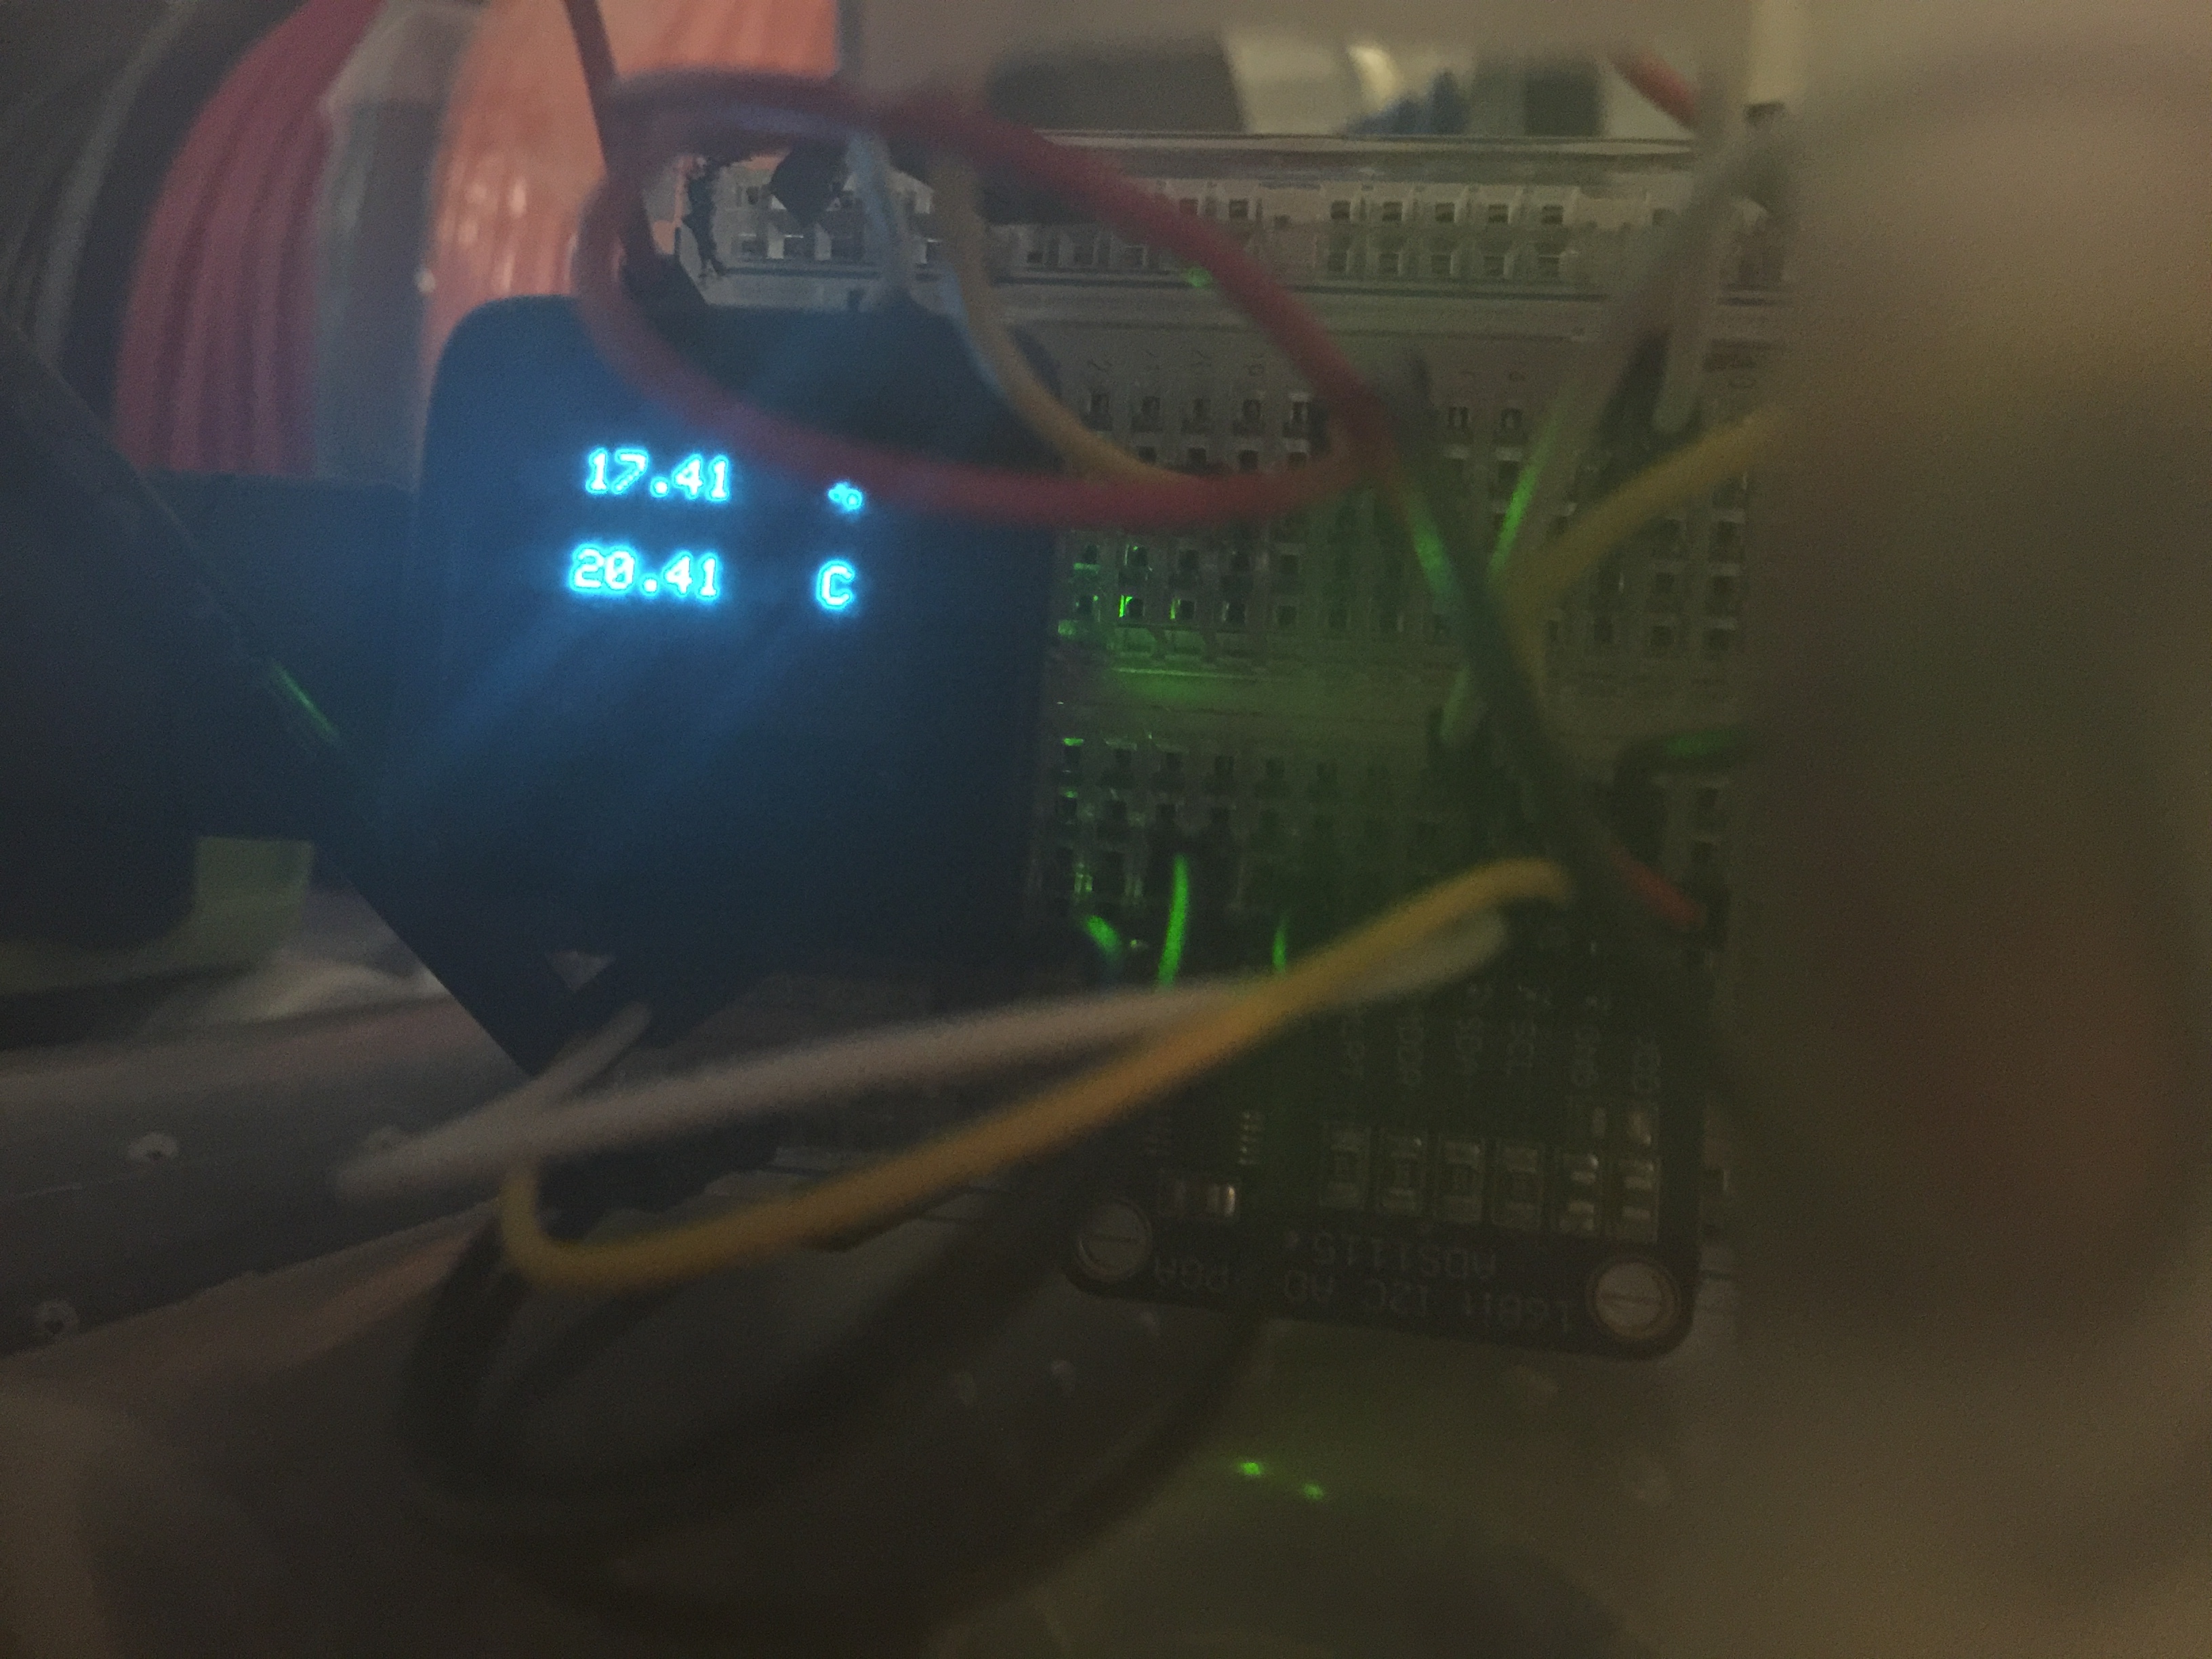
A close-up of the microview showing 17% RH inside my container.
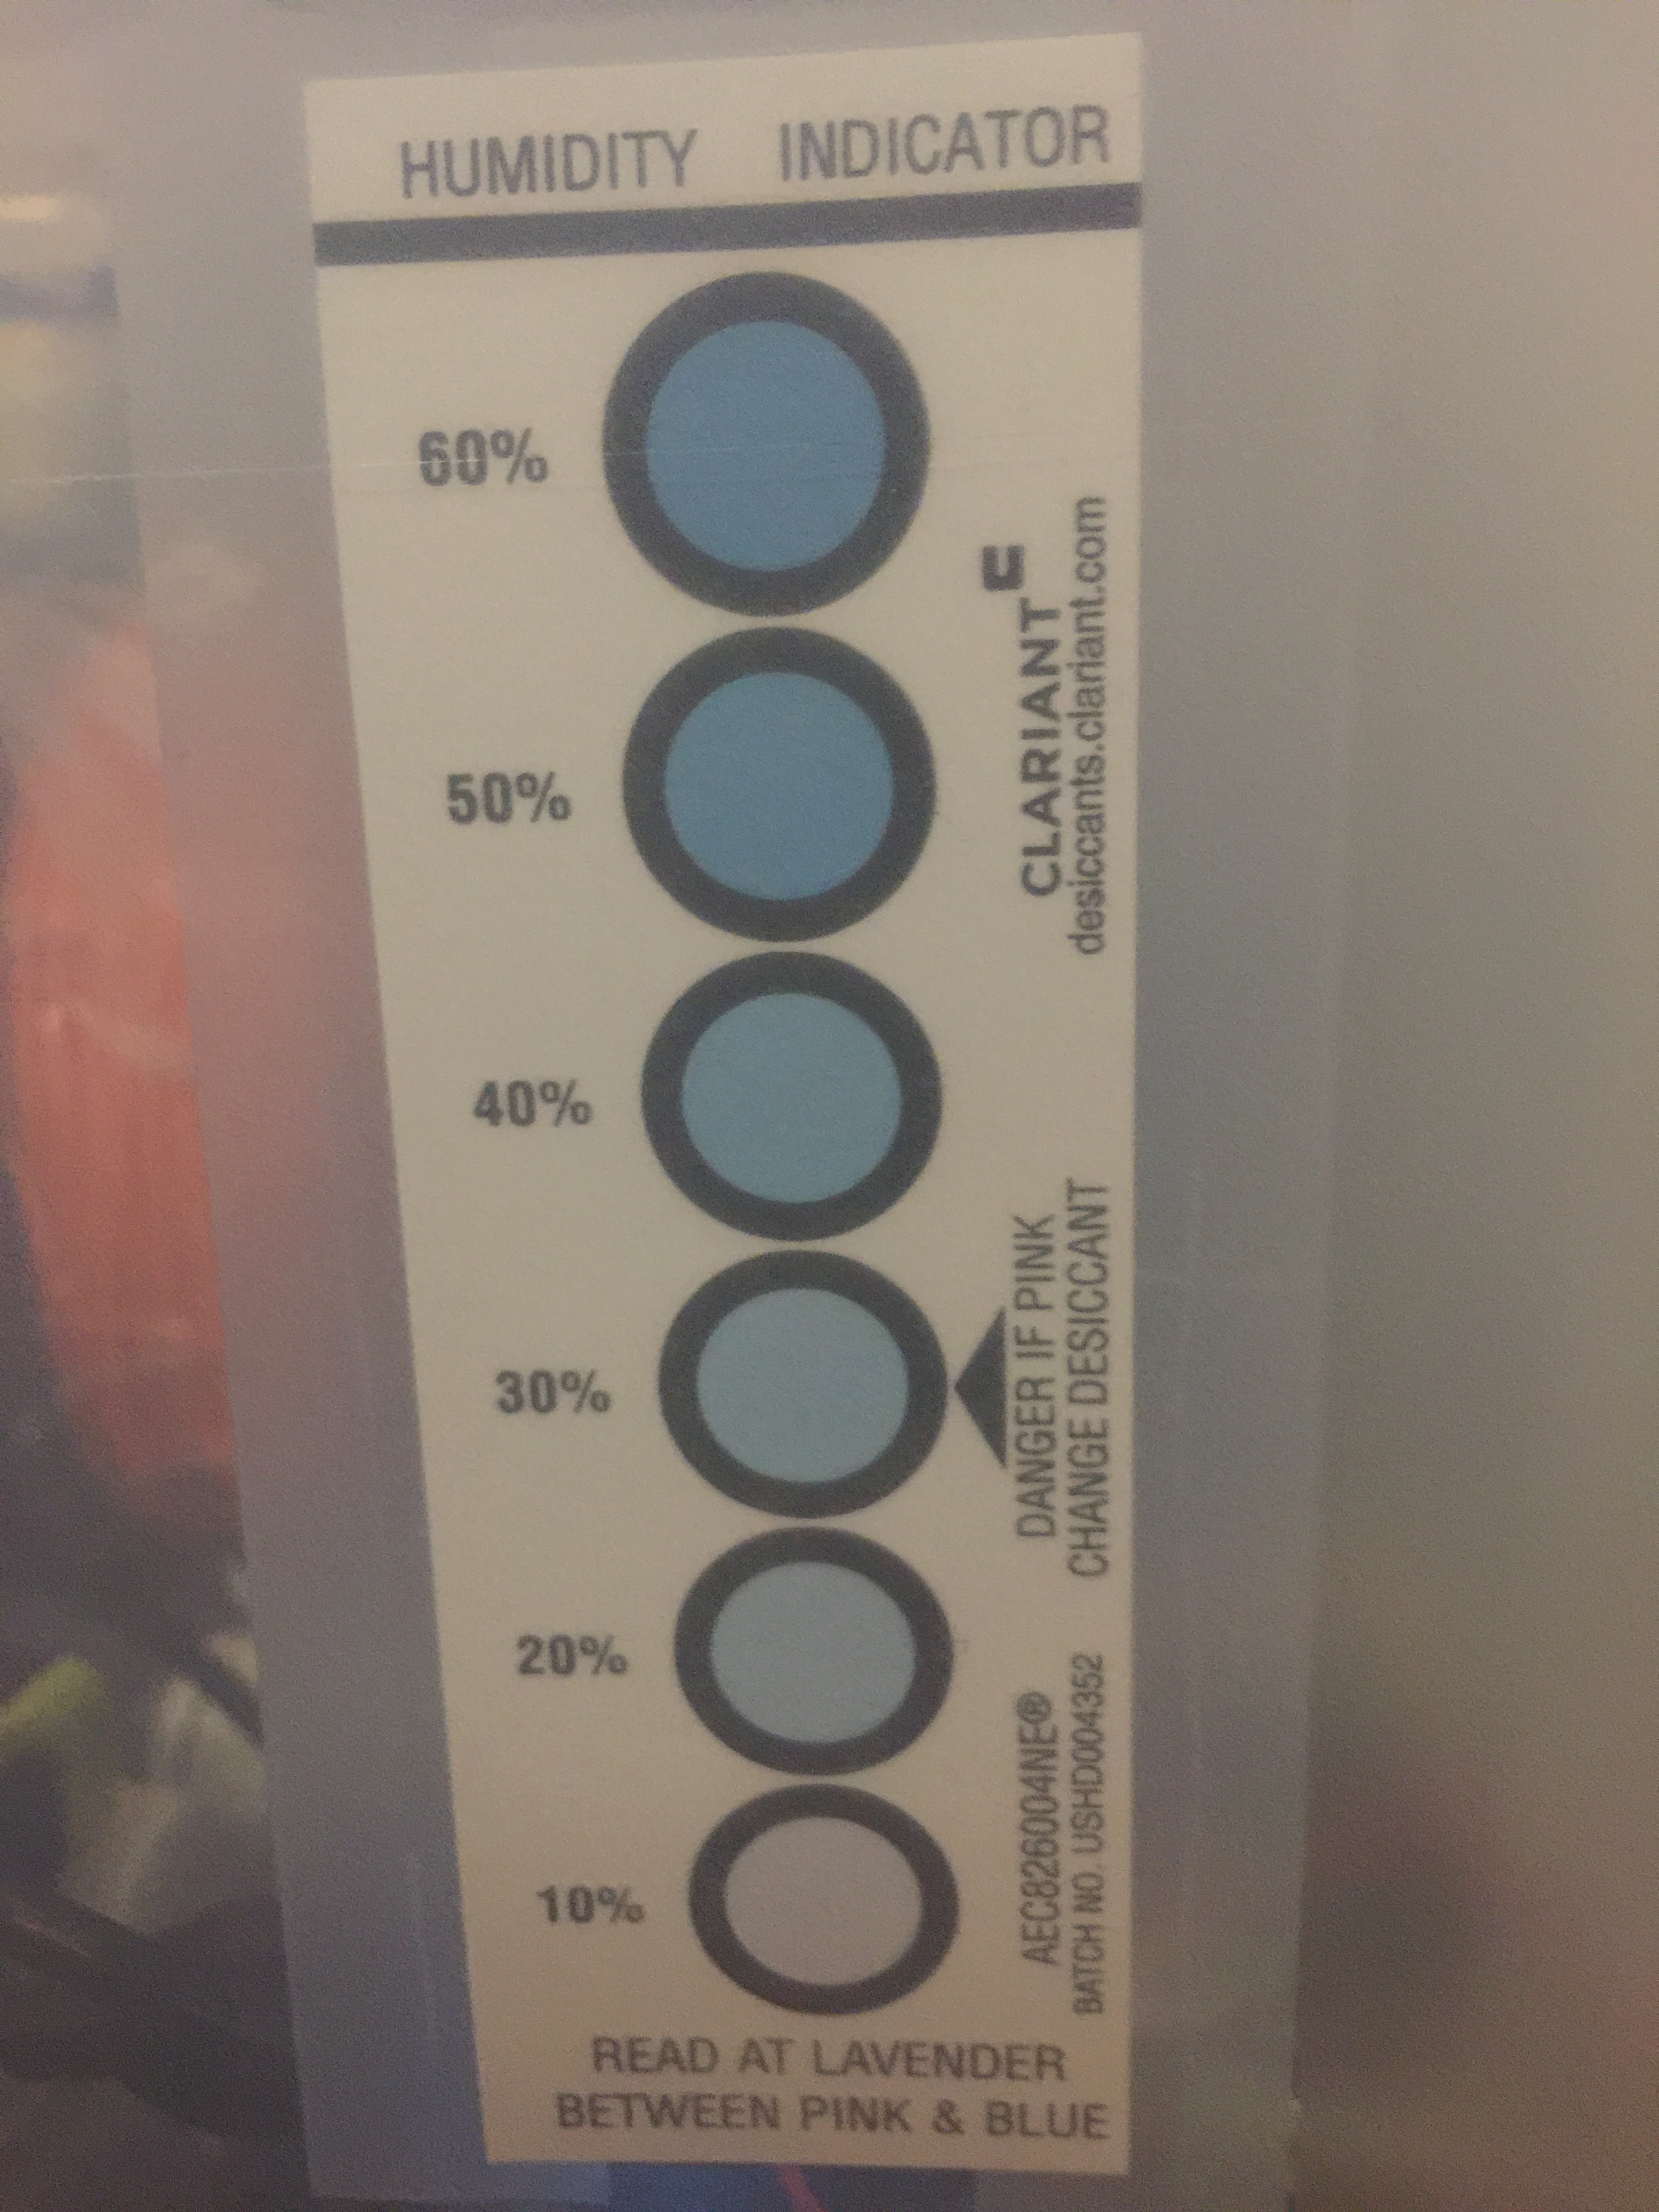
The humidity indicator also shows below 20%, matching the electronic sensor.
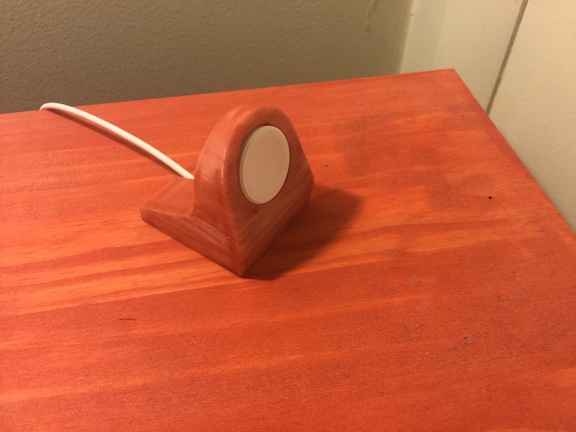
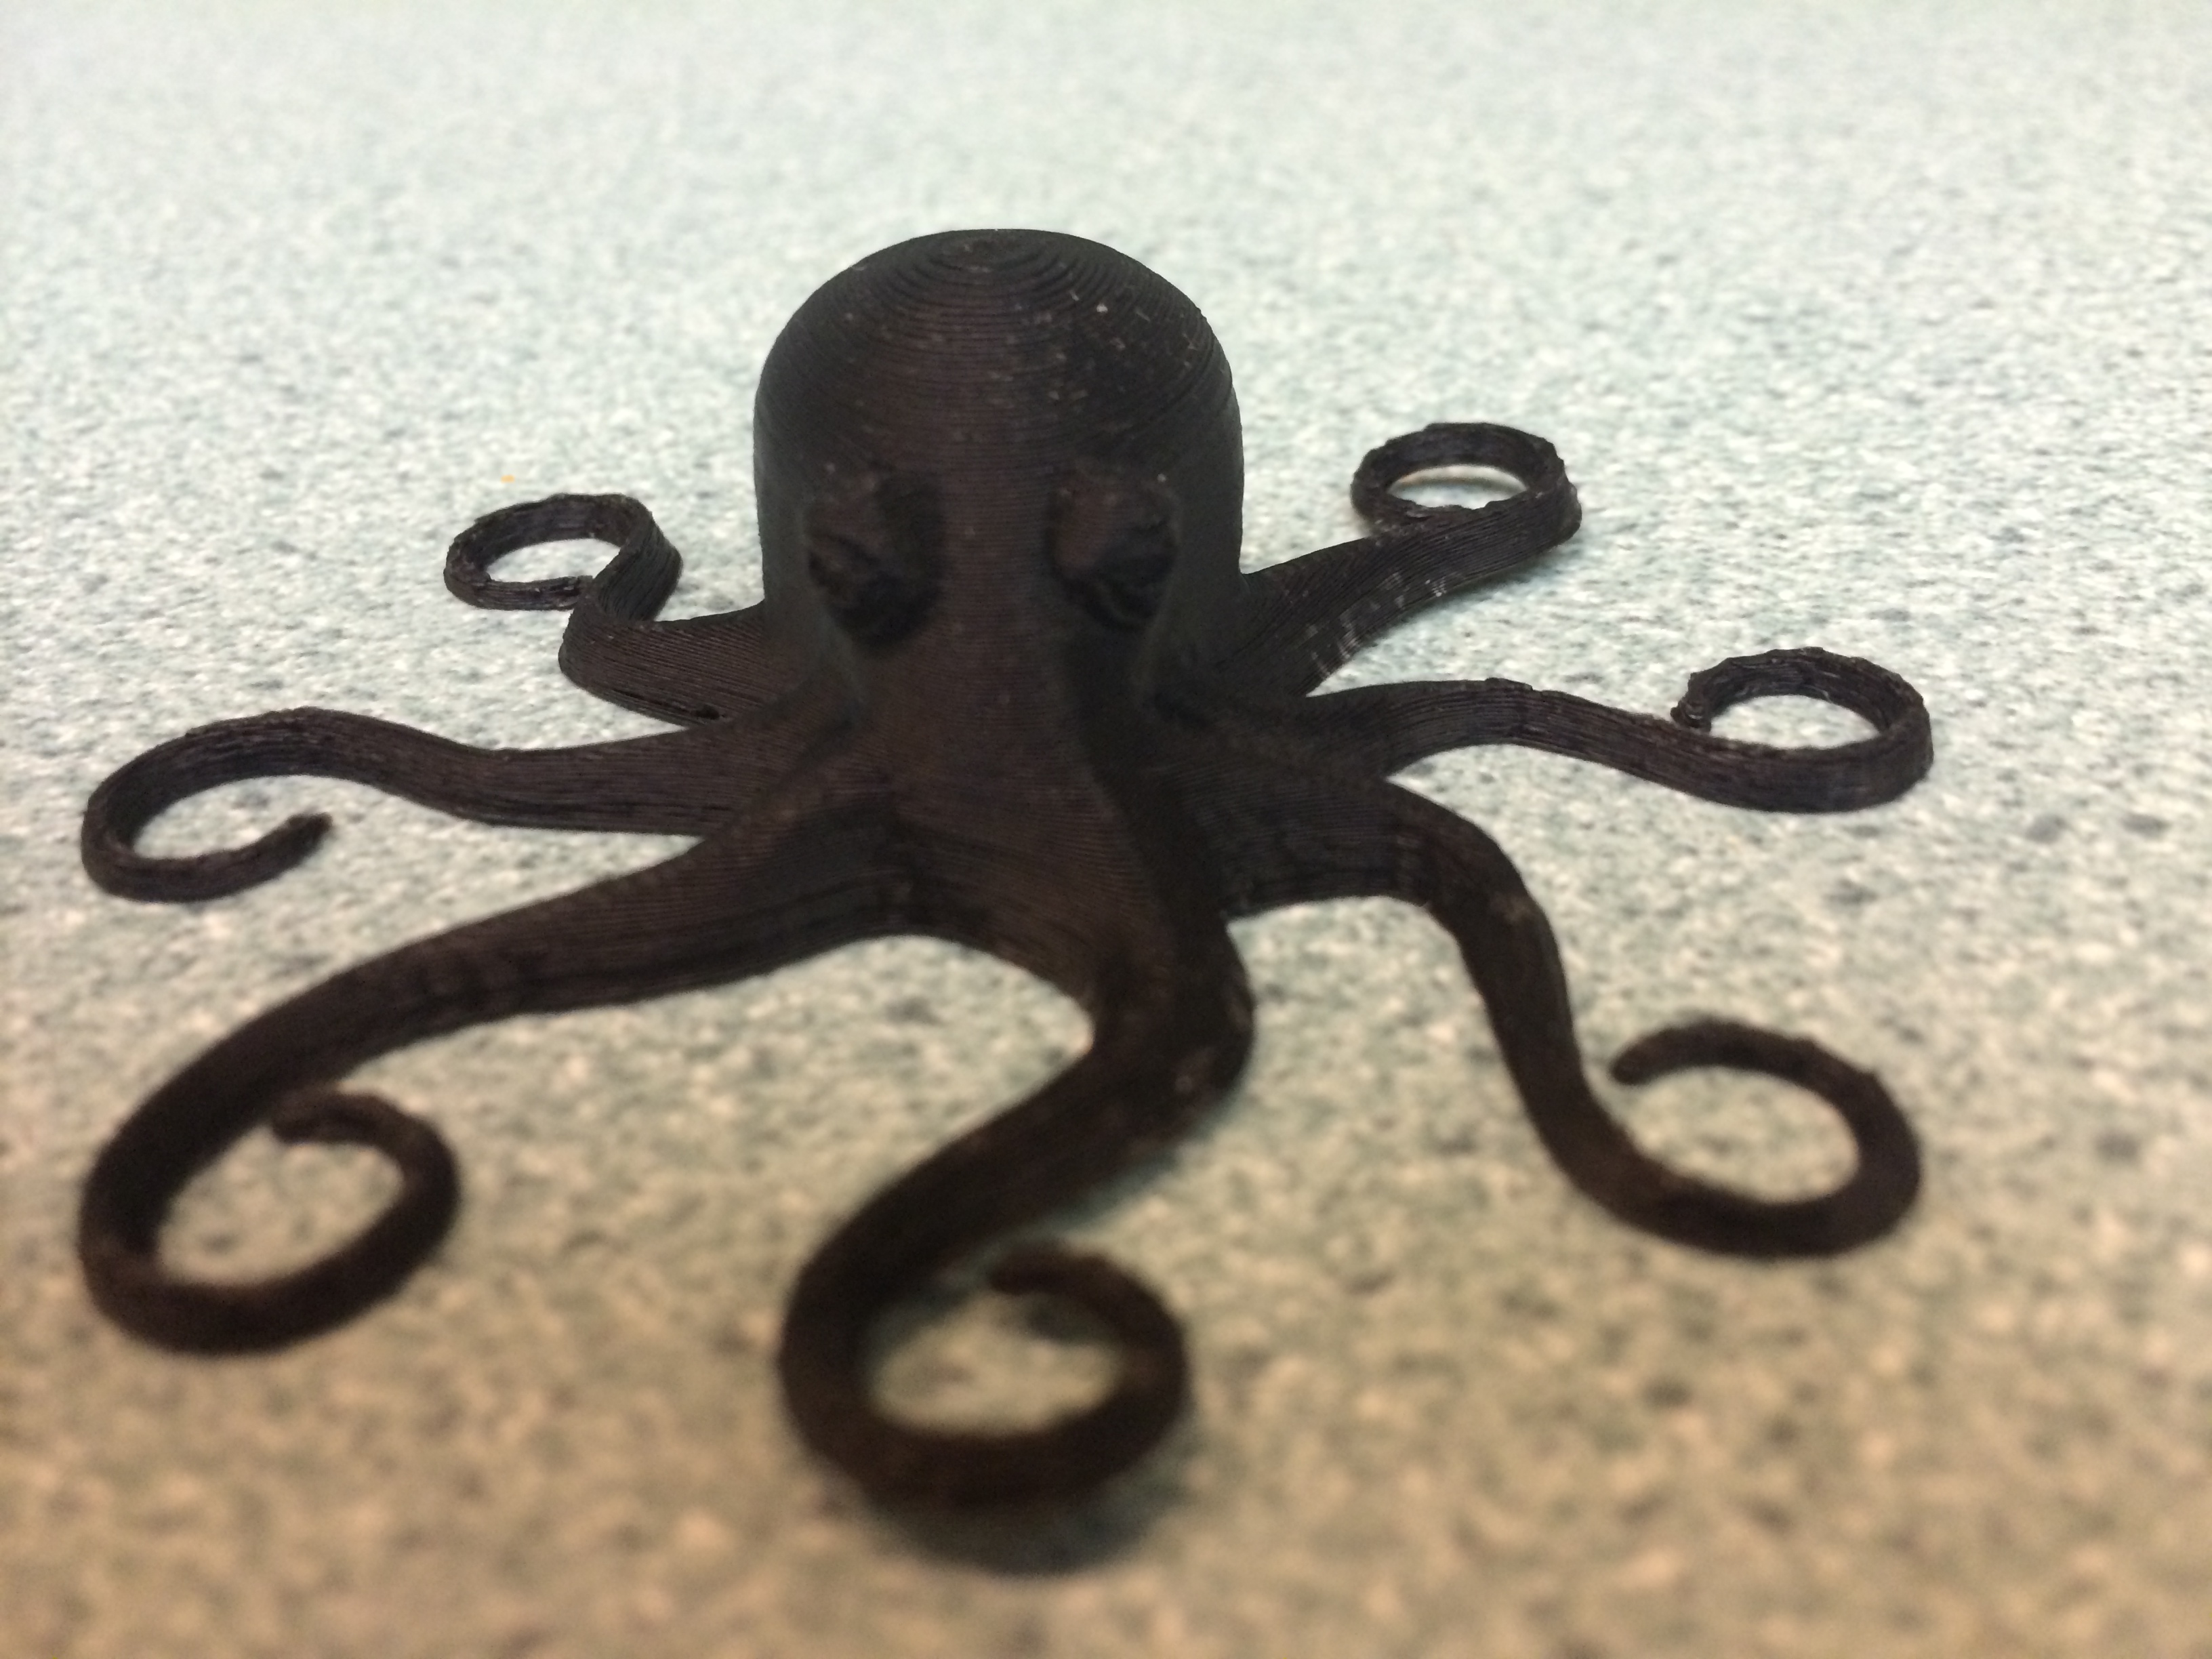
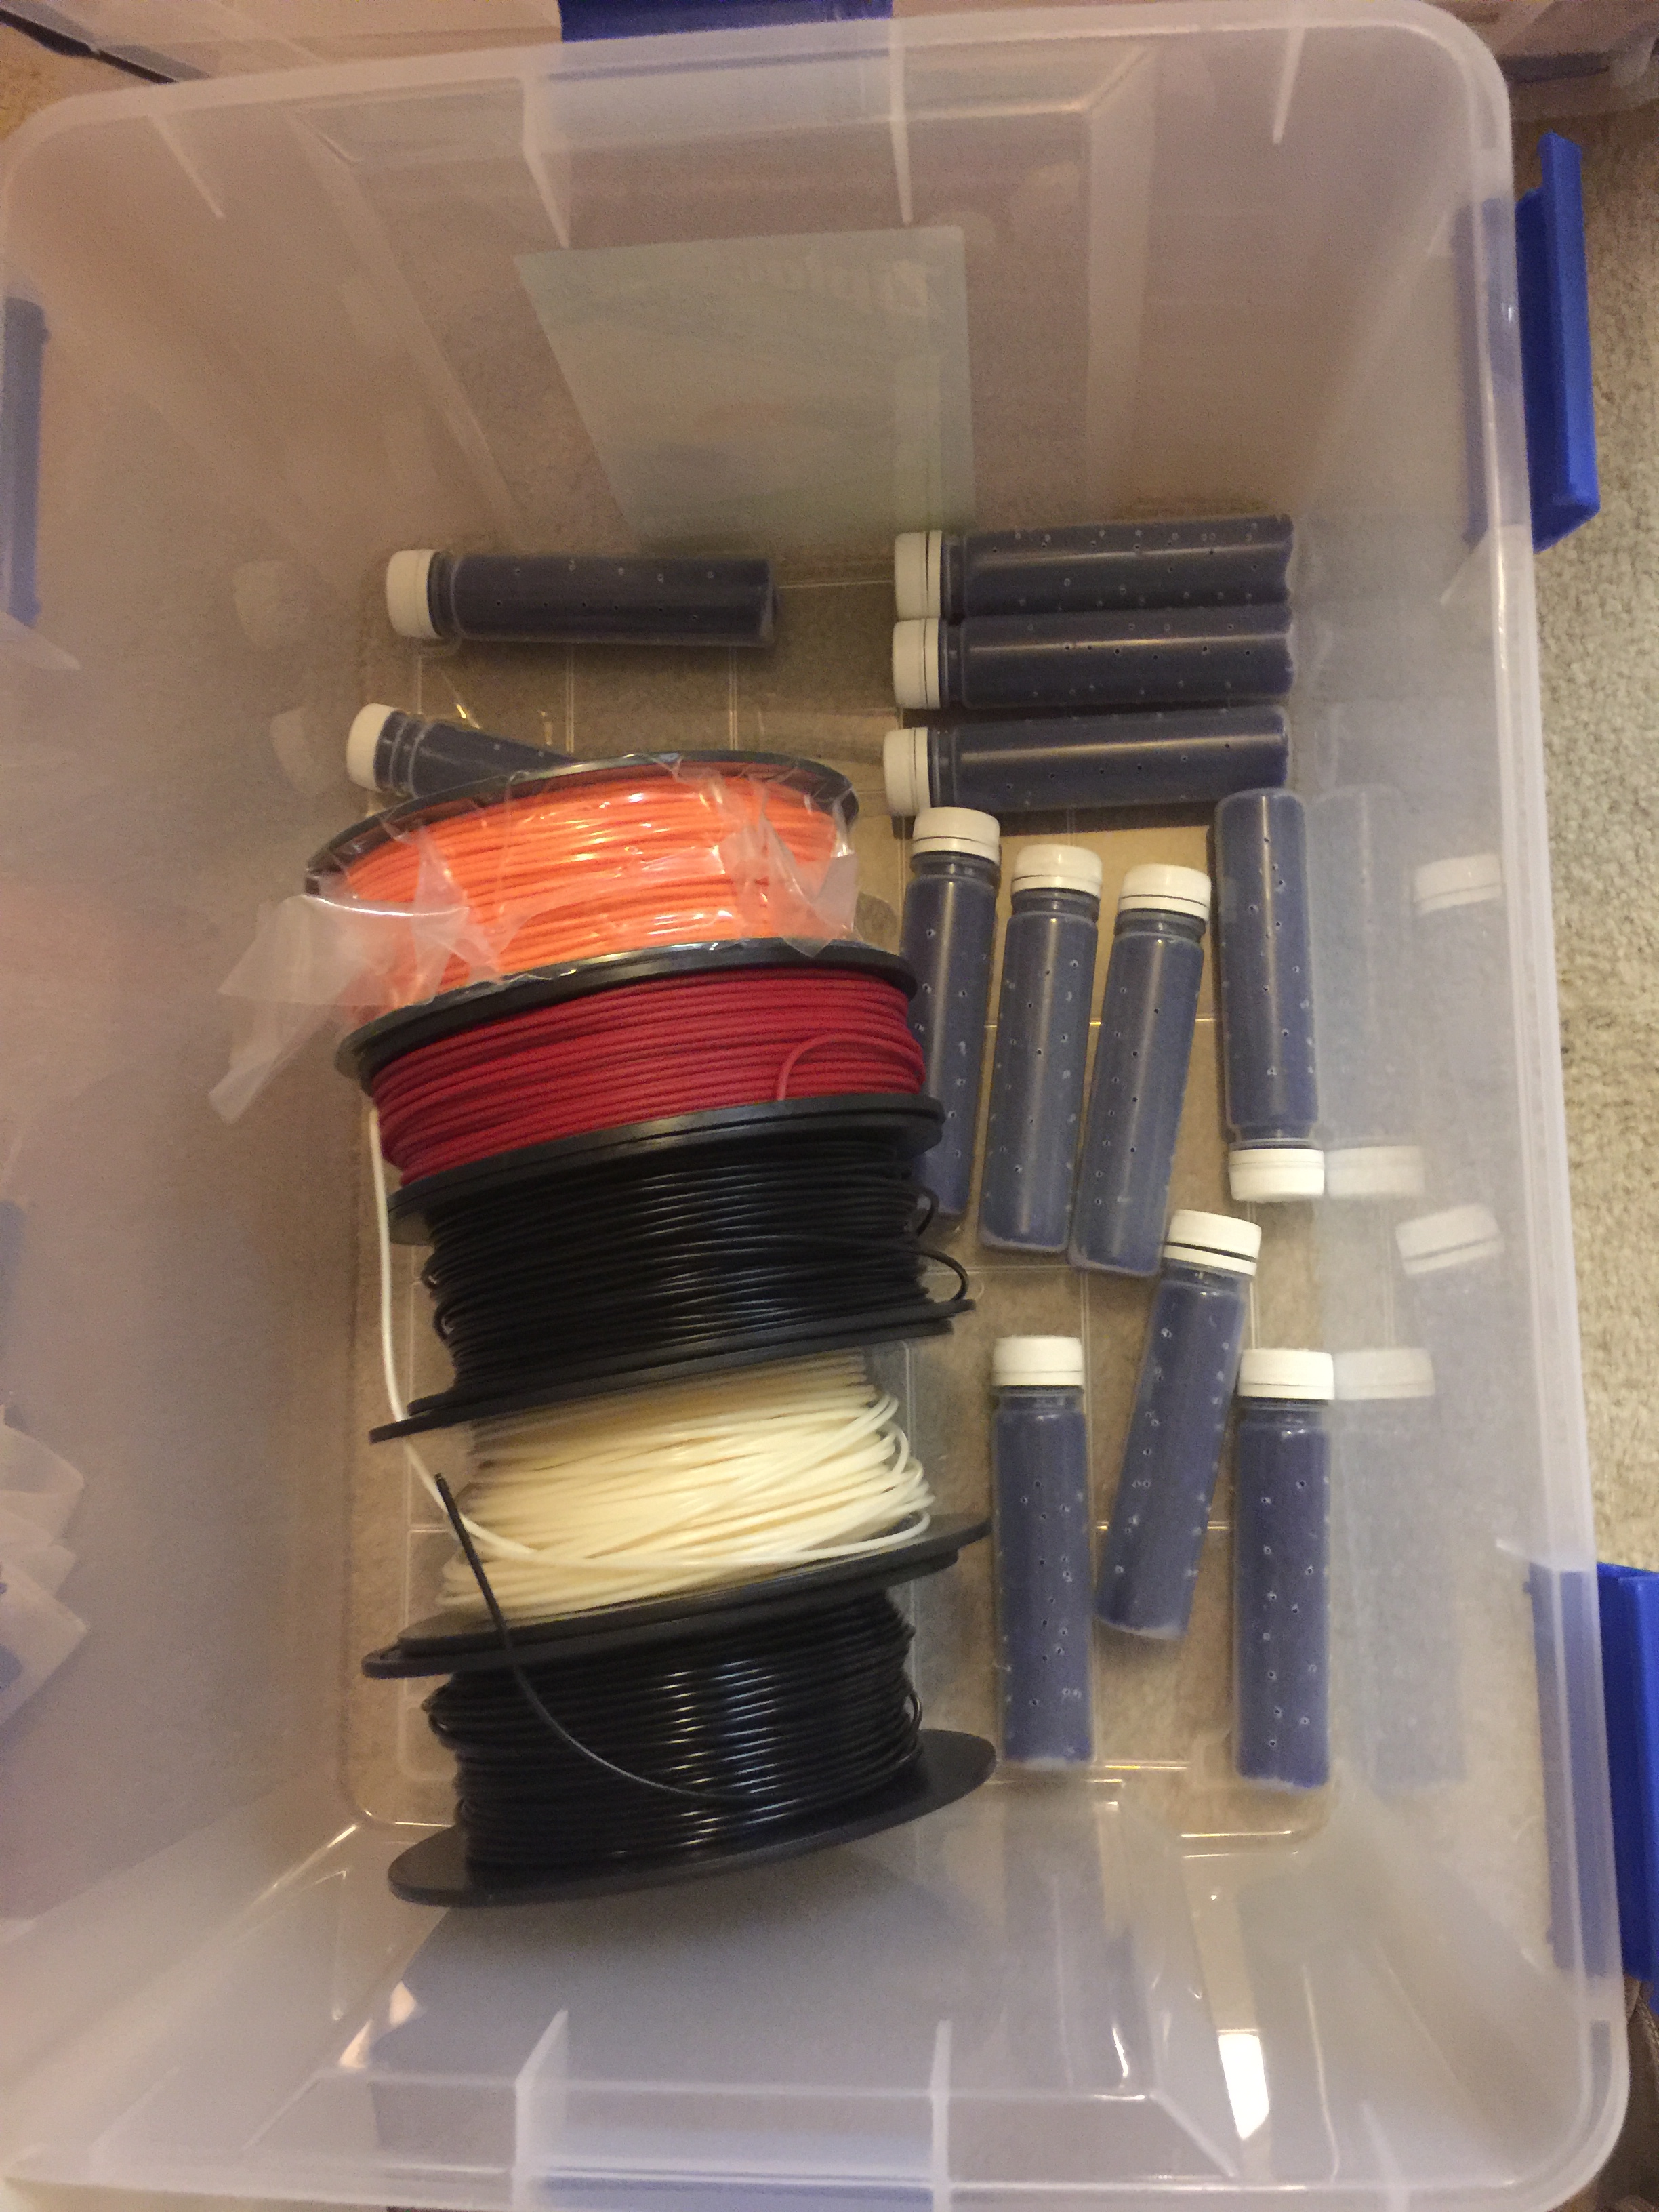
Once I verified that this solution might work, I put the rest of the filament and anything else I wanted to stay dry in the tub. Still lots of room left for future filament purchases, unpainted parts, and all of the surface mount sensors that need to be stored in a dry environment.
After letting the filament sit in the box for a few days, I tried another print. To my surprise, there were no more blow-outs! I still have a problem with part of my print bed not adhering very well, but that's another story and another, currently only partially solved, mystery. For now, this box solution seems to have part of my 3D printing problems solved. I have noticed that old filament does produce weaker prints, so I'm going to start stocking less filament and print most things in a single color (probably just black and white unless a special need arises).